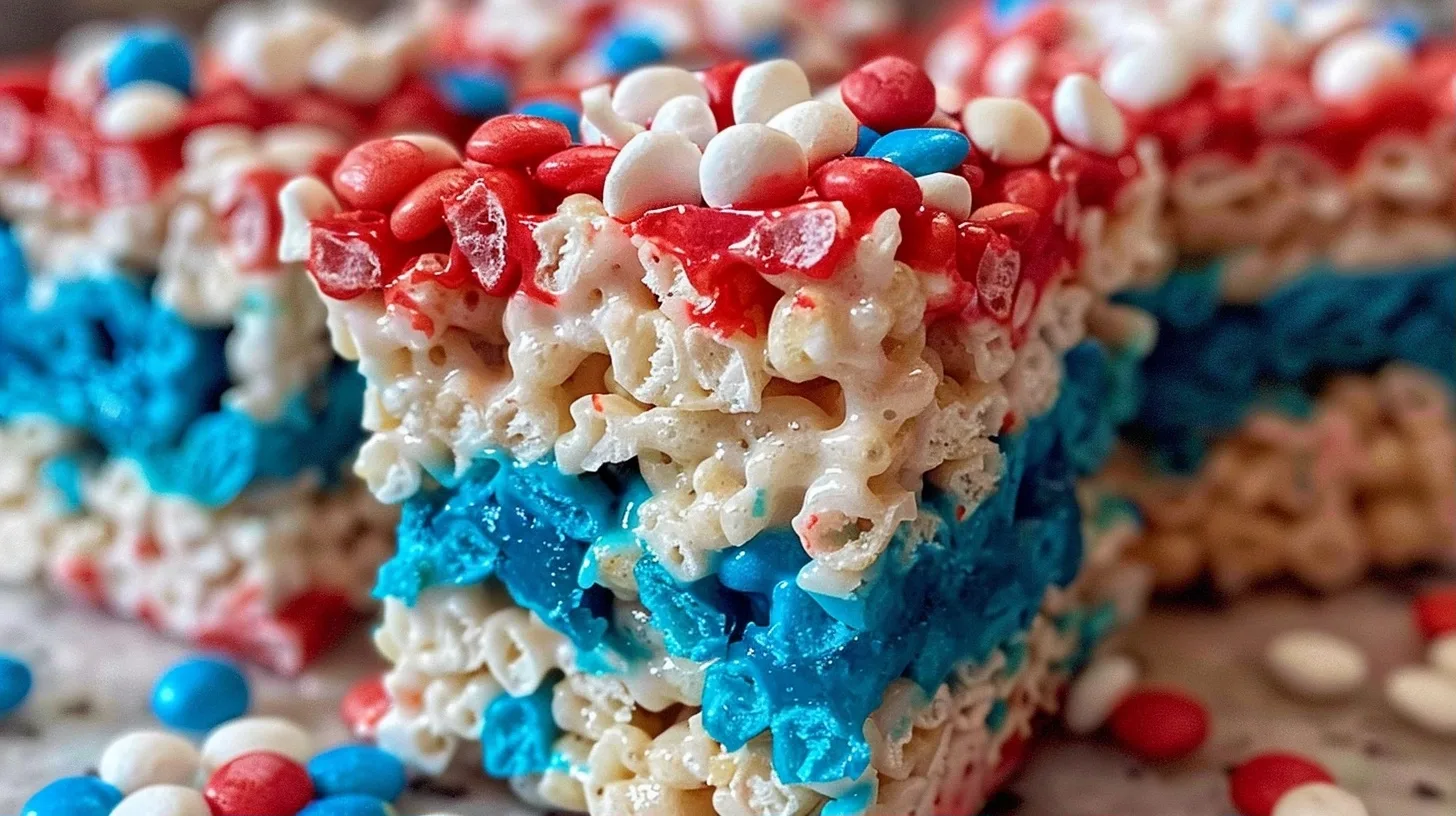
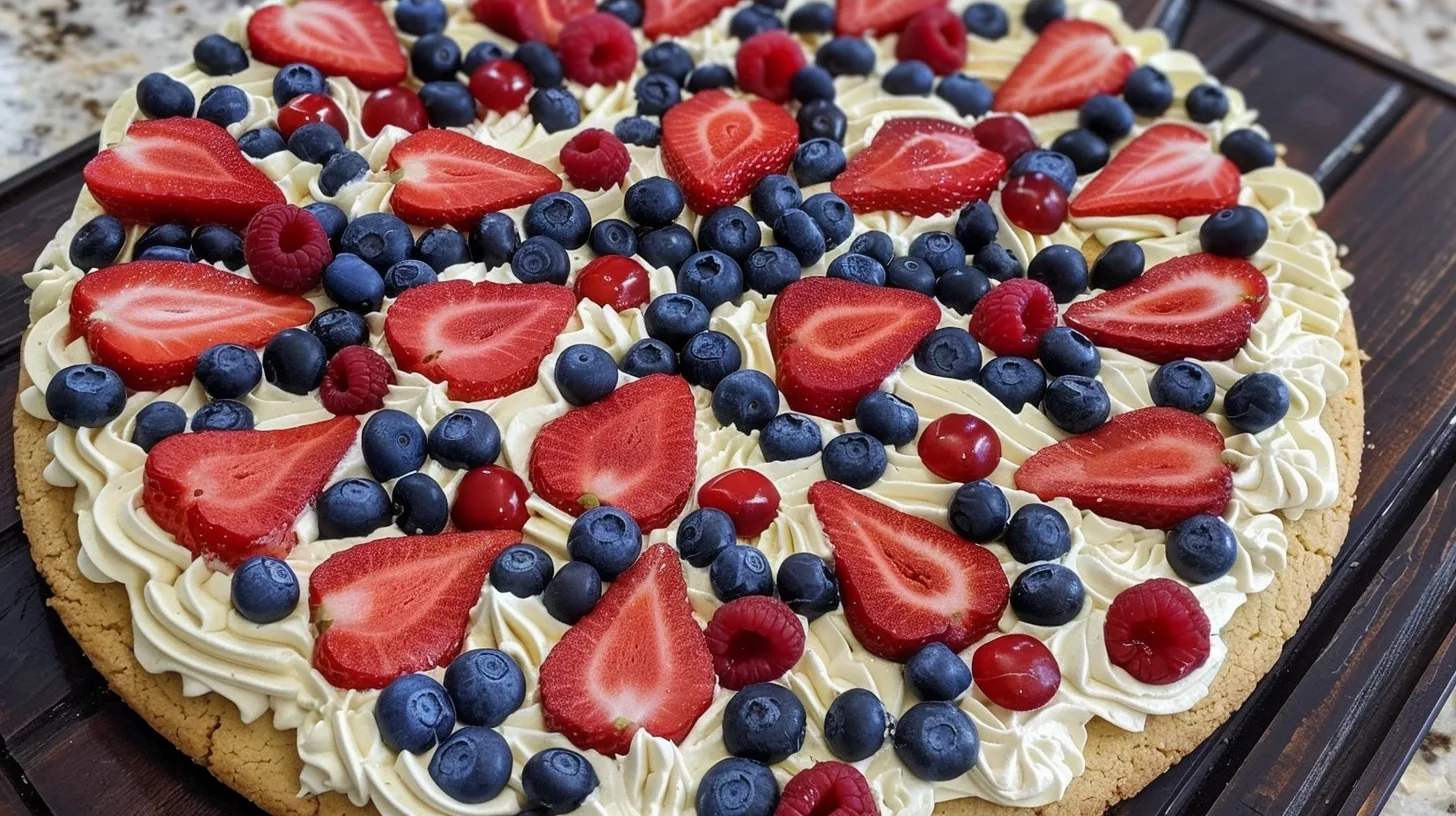
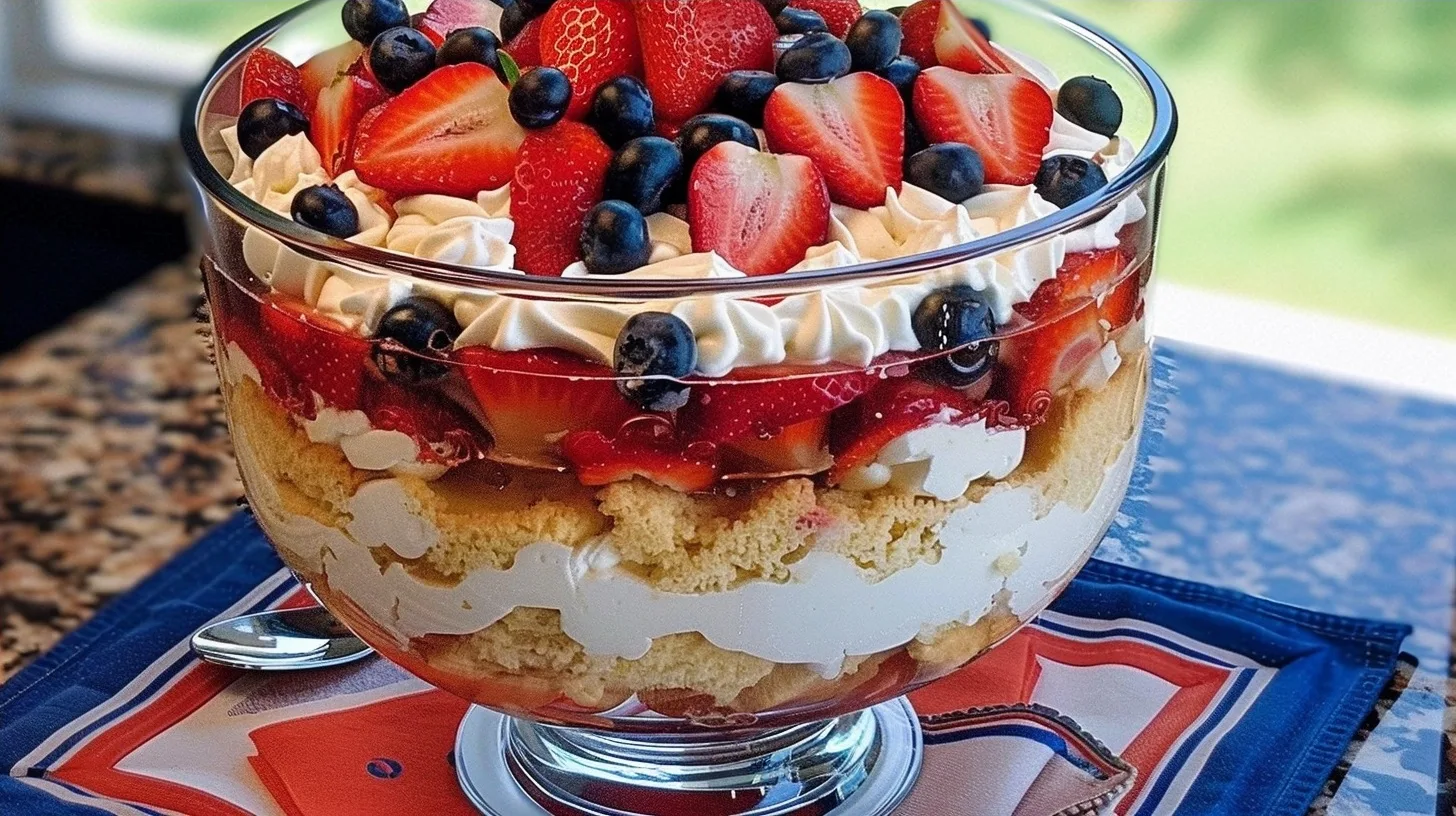
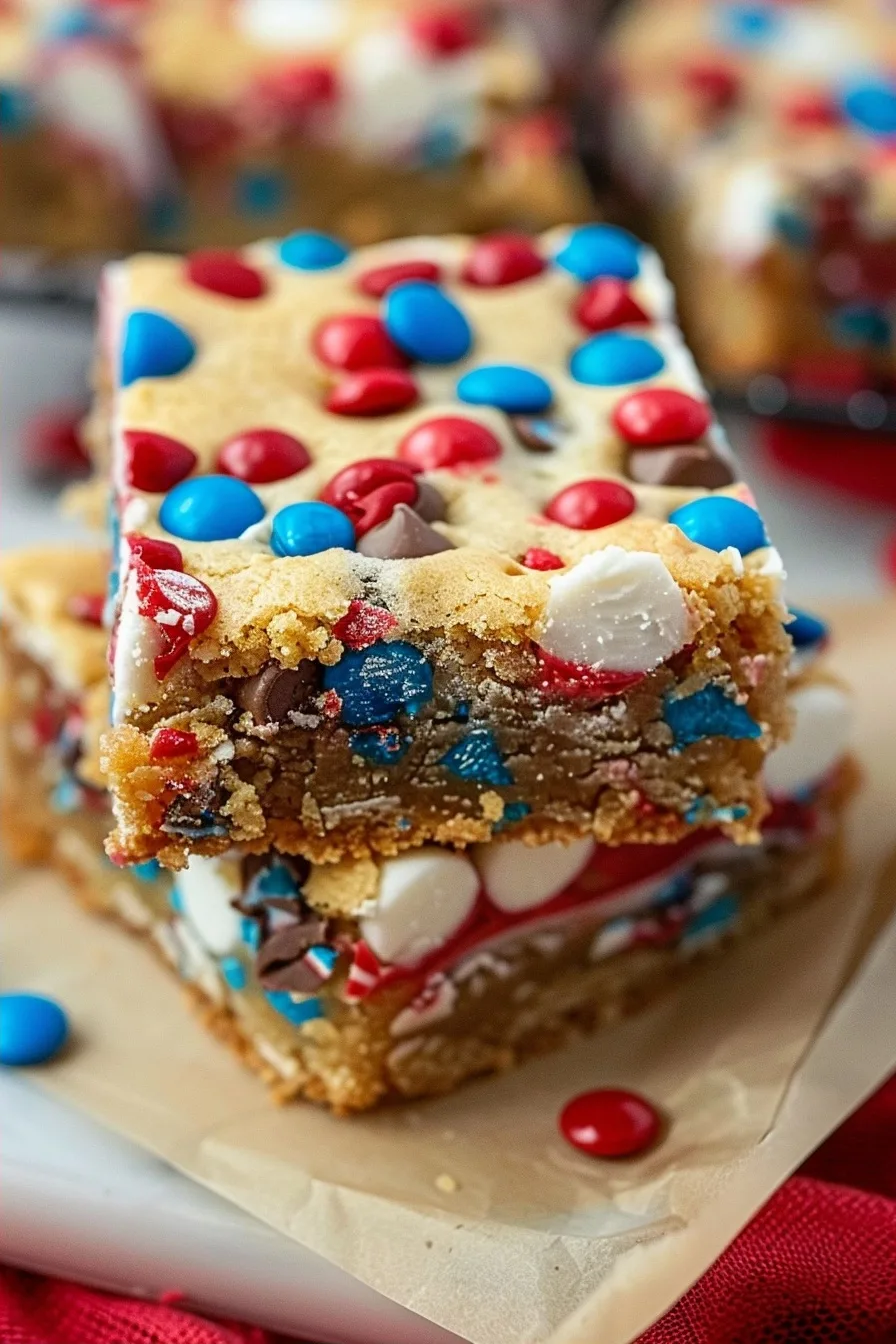
Red White and Blue Cookie Bars are decadent, colorful treats that pair chewy cookie bases with rich buttercream frosting for a festive dessert. These bars utilize a simple buttery dough loaded with vibrant candies, making them the perfect centerpiece for summer holidays or patriotic celebrations. Every bite delivers a balance of sweet chocolate and soft vanilla cake textures that satisfy any sweet tooth cravings instantly.
Introduction to Red White and Blue Cookie Bars
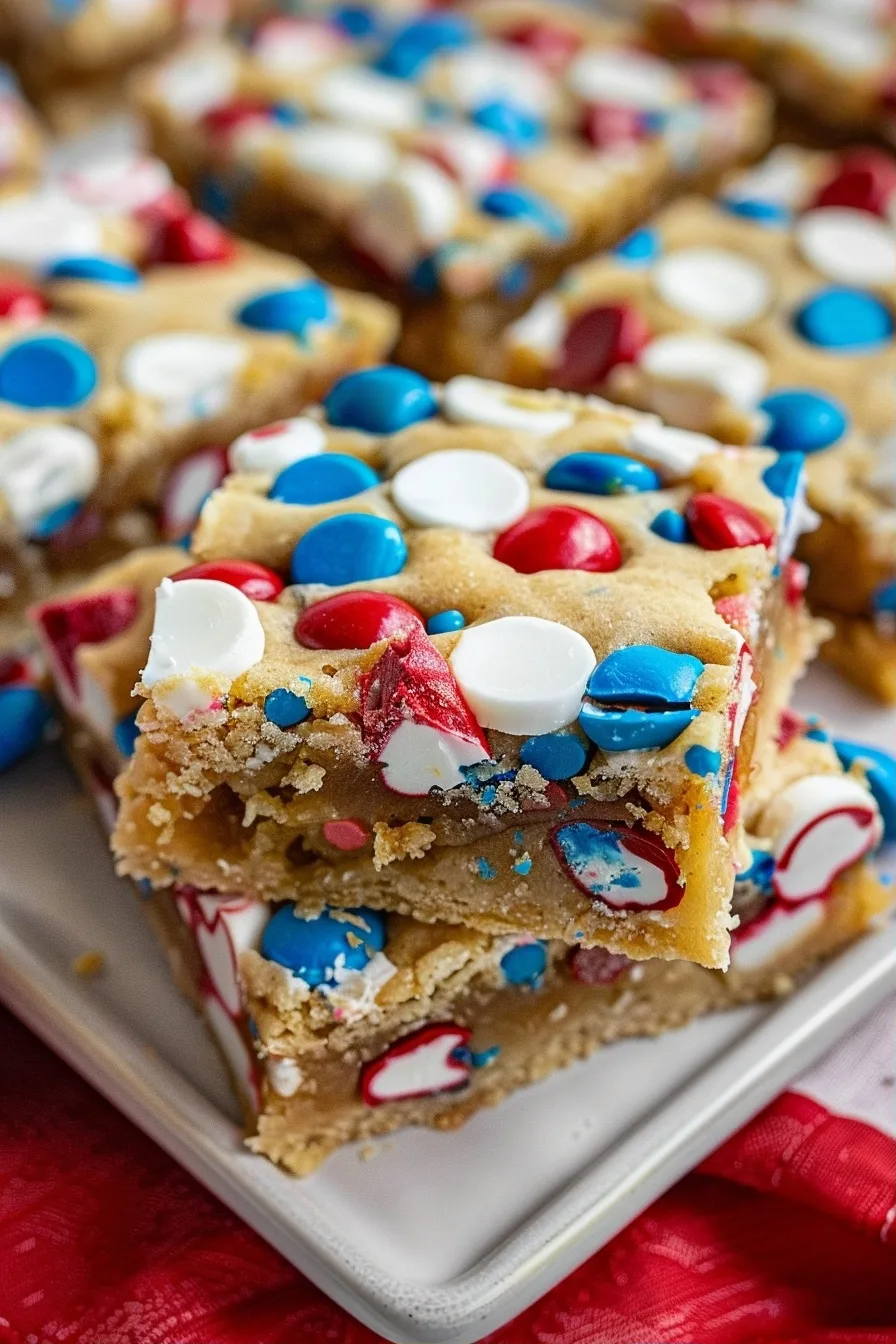
Red White and Blue Cookie Bars offer a dense, buttery texture that provides a satisfying chew in every single mouthful. The dough remains soft and tender while the edges bake into a slightly crisp, caramelized exterior that creates a delightful contrast. The deep cocoa notes from the milk chocolate chips mingle perfectly with the sugary bursts of colored candies to create a harmonious profile. You will appreciate the warm aroma of vanilla extract that fills your kitchen while these bars bake to golden perfection in the oven.
These festive squares represent a modern evolution of the classic American blondie by incorporating thematic elements for various holidays throughout the year. They stand out from standard cookie recipes because they combine the structural integrity of a bar with the flavor complexity of a gourmet sugar cookie. Culinary enthusiasts value this recipe for its consistent results and the ability to adapt the color scheme for different seasonal festivities. This dessert successfully bridges the gap between casual comfort food and an impressive, visually striking treat for your friends and family.
This recipe suits busy home bakers who want a high impact dessert that requires minimal active preparation time throughout the baking process. It works well for large community gatherings, family picnics, or intimate holiday dinners where you need a reliable crowd pleaser on the menu. You should make these bars a permanent part of your weekly rotation because they store well and remain moist for several days after baking. Whether you serve them at a Fourth of July party or a memorial day cookout, these colorful bars always disappear from the tray immediately.
Why You’ll Love This Recipe
The star ingredient here is the combination of corn starch and high-quality salted butter which ensures the base remains soft rather than turning overly crisp. This specific technique guarantees a melt-in-your-mouth experience that distinguishes these cookie bars from standard dry, crumbly alternatives. Every bite provides a deep flavor payoff that balances the intense sweetness of the buttercream frosting with the savory undertones of the rich cookie base.
The texture contrast between the chewy, dense center of the bar and the creamy, piped frosting creates an exceptional sensory experience for guests. You will notice the visual appeal immediately as the vibrant red, white, and blue candies stand out against the golden baked dough and colorful frosting swirls. These bars satisfy multiple levels of desire by combining a decadent chocolate element with a sweet, sugary finish that appeals to dessert lovers of all ages.
The Perfect Weeknight Dinner
Preparing these bars requires very little active effort since the entire recipe reaches completion in under forty-five minutes total. You simply mix the base, spread it into the pan, and let the oven handle the heavy lifting while you focus on other kitchen tasks. This streamlined approach allows you to achieve bakery-quality results without spending your entire evening hovering over a hot stove or stand mixer.
Busy families appreciate that this recipe allows for significant ahead-of-time preparation because the bars stay fresh for days when stored properly. Beginner cooks find success with these cookie bars because the instructions rely on standard mixing techniques that produce reliable, delicious outcomes every single time. You can easily involve children in the decoration process by letting them help pipe the frosting or sprinkle extra candies over the finished, beautiful tray.
Ingredients Needed for Red White and Blue Cookie Bars
Main Ingredients
The following ingredients form the foundation of your cookie bars, providing the necessary structure, sweetness, and moisture for success.
| Ingredient | Quantity | Notes |
|---|---|---|
| Salted Butter | 1.5 cups | Base fat for texture |
| Light Brown Sugar | 1 cup | Provides chewiness |
| Granulated Sugar | 1/3 cup | Adds sweetness |
| Vanilla Extract | 1 tbsp | Aromatic enhancer |
| Eggs | 2 large | Binding structural agent |
| All-Purpose Flour | 2 cups | Bulk and structure |
| Corn Starch | 1 tbsp | Ensures soft texture |
| Baking Soda | 1/2 tsp | Leavening agent |
| Salt | 1/2 tsp | Flavor balance |
| M&Ms | 1 cup | Festive crunch |
| Sprinkles | 1/2 cup | Decorative topping |
| Milk Chocolate Chips | 3/4 cup | Rich flavor |
| Powdered Sugar | 4 cups | Frosting body |
| Heavy Cream | 3-5 tbsp | Frosting smoothness |
Optional Add-Ins
Customizing your cookie bars allows you to tailor the flavor profile to your specific personal preferences while maintaining the festive theme. Consider these additions to add extra texture or a subtle flavor twist to the original recipe.
| Ingredient | Quantity | Notes |
|---|---|---|
| White Chocolate Chips | 1/2 cup | Extra creamy sweetness |
| Chopped Pecans | 1/4 cup | Nutty earthy crunch |
| Almond Extract | 1/4 tsp | Floral flavor depth |
| Sea Salt Flakes | 1 pinch | Salty sweet contrast |
Ingredient Substitutions
- Replace all-purpose flour with a gluten-free blend to ensure the texture remains consistent for those with dietary restrictions.
- Swap light brown sugar for dark brown sugar if you prefer a deeper molasses flavor and a slightly darker bar color.
- Substitute heavy cream in the frosting with whole milk to achieve a slightly lighter consistency if you prefer less fat.
- Use semi-sweet chocolate chips instead of milk chocolate if you want to reduce the overall sweetness of the final bars.
Step-by-Step Cooking Instructions
This streamlined process ensures you create perfect cookie bars by focusing on precise measurements and careful temperature control for every component. Follow these phases to achieve the ideal chewy texture and vibrant, professional-looking frosting finish for your beautiful dessert.
Preparing the Cookie Base
Preheat your oven to 350 degrees and grease a standard metal nine by thirteen inch pan to prevent any sticking. Combine the melted butter with both sugars in a stand mixer until the texture becomes smooth and fully incorporated. Incorporate the eggs and vanilla extract one at a time, beating on medium speed until the mixture looks pale and creamy. Slowly add the dry ingredients and mix until just combined, being careful not to overwork the dough to keep the texture tender. Fold in your candies and chips by hand to ensure they remain evenly distributed throughout the thick, golden brown cookie batter.
Baking and Cooling
Spread the prepared dough into the pan using a rubber spatula, pressing gently into the corners for an even layer. Place the pan in the center rack and bake for twenty-five minutes until the edges appear golden brown and firm. Remove the pan from the oven and set it on a wire rack to reach room temperature before applying any frosting. You must wait for the bars to cool completely because adding frosting to a warm base will cause the buttercream to melt immediately.
Frosting and Assembly
Beat the softened butter and powdered sugar together in your mixer for three minutes until the mixture looks fluffy. Add the vanilla, salt, and two tablespoons of cream, then continue beating until the texture becomes smooth and easily pipeable. Divide the frosting into three bowls and tint two of them with red and blue food coloring for your festive look. Use a piping bag to create alternating swirls across the cooled bars and finish with a generous scattering of festive sprinkles.
Pro Tips
Mastering these cookie bars involves focusing on the small details that elevate a simple treat into a professional-grade dessert. These professional strategies will help you avoid common baking pitfalls and ensure your final product looks and tastes exactly as intended every time.
- Always use room temperature eggs to ensure they emulsify properly with the melted butter during the initial mixing stage. This prevents a broken, greasy batter and creates a cohesive, smooth dough that bakes into a uniform, chewy cookie bar.
- Measure your flour by spooning it into the measuring cup instead of scooping directly to avoid packing too much into the cup. Excess flour results in dry, crumbly bars that lose their signature chewy texture after the first day of storage.
- Chill the dough for twenty minutes before baking if you have extra time to allow the flavors to deepen significantly. This simple step also helps the bars maintain their shape and prevents them from spreading too thin in the pan.
- Use a metal pan for even heat distribution to ensure the edges and the center bake at the same consistent rate. Glass pans often require lower temperatures and longer times, which can lead to uneven textures in this specific cookie bar recipe.
- Wipe your knife with a hot, damp cloth between each slice to achieve perfectly clean edges on your festive bars. This technique prevents the frosting from dragging across the cookie surface and makes your final presentation look clean and professional.
The most important technique in this entire recipe is properly cooling the base before applying the rich buttercream frosting layers. If you rush this step, the heat will break down the structure of the frosting and ruin your beautiful piped decorations. Take your time during the cooling phase to ensure your hard work results in the visual masterpiece you deserve to share.
Serving Suggestions and Variations
Pairing with Sides
Pair these colorful bars with light refreshments to contrast the richness of the buttery, sweet dough effectively throughout your party menu. Serve alongside a refreshing Fresh Berry Fruit Salad to provide a tart, acidic balance that cuts through the sugary intensity of the cookies. Offer a pitcher of Iced Hibiscus Tea for a crisp, floral beverage option that complements the vibrant theme without adding excessive cloying sweetness to the meal. These bars also pair beautifully with a simple scoop of vanilla bean ice cream if you decide to serve them as a warm dessert.
Creative Variations
Experiment with heat by adding a tiny pinch of cayenne pepper into the dough for an unexpected, sophisticated kick that contrasts with the chocolate. You can easily adjust the spice level by starting small and tasting your batter before adding the final chocolate chips to the mixture. This savory twist surprises guests and makes the classic festive treat feel much more adult and refined for evening gatherings.
Swap the milk chocolate chips for white chocolate or butterscotch chips to create a completely different flavor profile that still maintains the festive color scheme. You might also substitute half of the all-purpose flour with almond flour for a nutty, dense texture that pairs perfectly with the sweet buttercream. These base ingredient swaps allow you to customize the recipe for various dietary needs or personal preferences without losing the core structure.
Explore more holiday treats by checking out my recipes for Patriotic Sugar Cookies and Independence Day Brownies for your next big celebration. These recipes use similar festive color palettes that make them excellent companions for your cookie bar tray. Finish your dessert spread by pairing these bars with a classic Vanilla Bean Ice Cream for the ultimate summer treat that everyone will enjoy.
FAQ
Can I substitute butter with margarine in this recipe?
You can use margarine, but butter provides a much better flavor and structural stability for these dense cookie bars. Butter contains less water than margarine, which helps the cookies maintain a chewy texture rather than becoming overly soft or oily. If you choose to use margarine, ensure it is a high-fat stick variety rather than the whipped version from a tub. Your bars will taste good with margarine, but they will lack the rich, deep profile that real butter contributes to the final product.
Are these cookie bars suitable for a vegetarian diet?
These cookie bars are perfectly suitable for a vegetarian diet as they do not contain any meat, gelatin, or animal rennet. The ingredients rely entirely on dairy and eggs, which fit well within standard vegetarian dietary guidelines for desserts and baking. You can easily serve these at any gathering where vegetarian options are required without needing to make any special recipe adjustments. Everyone at your event will be able to enjoy these festive treats without concerns regarding the specific ingredients used in the baking.
How long can I store these bars at room temperature?
You can store these cookie bars in an airtight container at room temperature for up to four days while maintaining their texture. Placing the container in a cool, dry area of your kitchen will prevent the frosting from softening too much and preserve the candy coating. If you live in a very humid environment, storing them in the refrigerator is a better strategy to keep the frosting firm. Always ensure the container remains sealed tightly to prevent the bars from absorbing any surrounding odors or drying out during the storage period.
Can I make these cookie bars one day in advance?
You can definitely prepare these bars one day in advance because they actually taste even better after the flavors have had time to meld. If you plan to frost them ahead of time, keep the tray in the refrigerator and bring them to room temperature before serving. Making them a day early saves you stress on the day of your event and ensures the bars set up perfectly for slicing. Just make sure to cover the pan tightly with plastic wrap to prevent them from taking on any refrigerator smells.
Why did my cookie bars turn out too dry?
Your cookie bars likely turned out dry because you measured the flour by scooping directly into the bag instead of spooning it. Packing flour into the cup results in adding way too much dry material, which destroys the delicate moisture balance of the dough. Another common cause is baking them for too long, as even two extra minutes in the oven can completely change the final texture. Always check your oven calibration and set a timer for the minimum recommended baking time to ensure they stay soft and chewy.
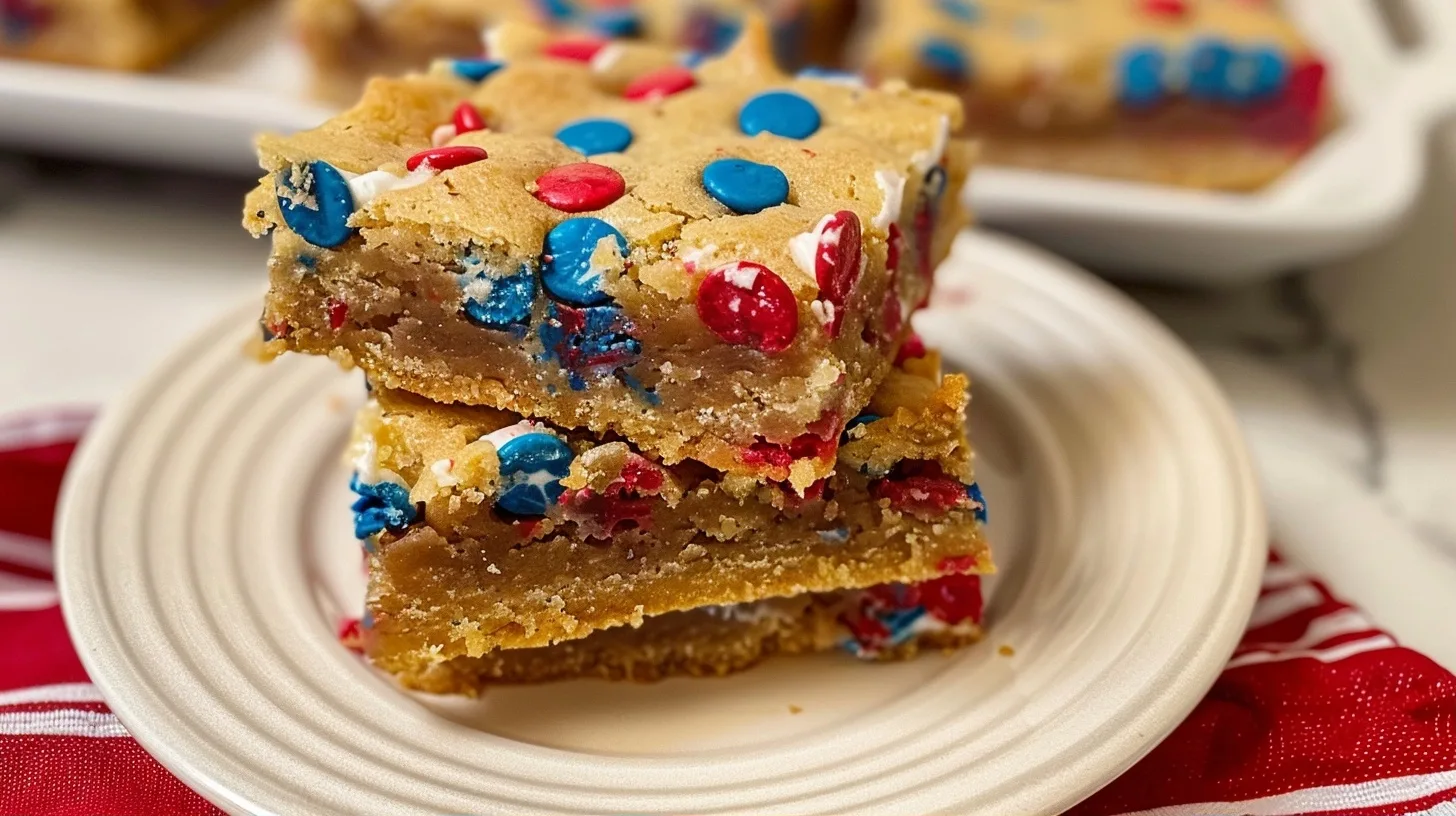
Festive Red, White, and Blue Cookie Bars
Ingredients
Method
- Preheat your oven to 350°F (175°C) and line a 9x13 inch baking pan with parchment paper.
- In a large bowl, cream together the softened butter, granulated sugar, and brown sugar until smooth and fluffy.
- Beat in the eggs one at a time, then stir in the vanilla extract.
- Whisk together the flour, corn starch, and salt in a separate bowl.
- Gradually add the dry ingredients to the wet ingredients, mixing until just combined.
- Fold in the milk chocolate chips and half of the red, white, and blue candies.
- Spread the thick dough evenly into the prepared baking pan.
- Bake for 20-25 minutes or until the edges are golden brown but the center remains soft.
- Allow the bars to cool completely before spreading with buttercream frosting.
- Top with the remaining red, white, and blue candies, slice into bars, and serve.