A DIY lunchable bento box provides a nutritious and cost-effective alternative to store-bought lunch packs by allowing complete control over ingredient quality. This customizable meal format guarantees that every component of your mid-day meal is fresh, satisfying, and tailored to your specific dietary needs or personal flavor preferences throughout the entire busy week.
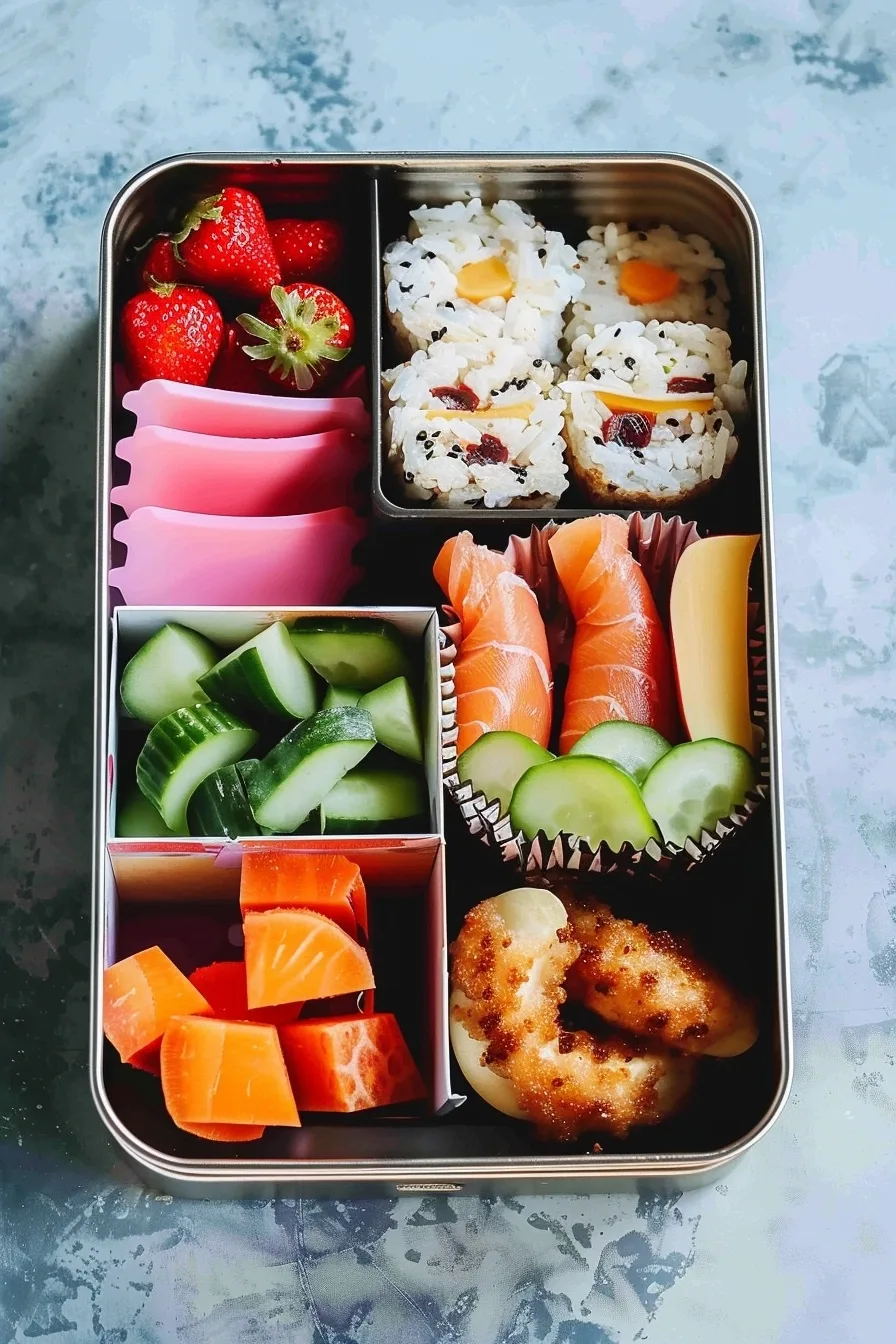
Introduction to DIY Lunchable Bento Box
This culinary creation centers on the concept of high-quality components paired strategically to provide a balanced bite in every single mouthful. The combination of protein-rich deli turkey, sharp cheddar cheese, and crunchy fresh vegetables delivers a diverse spectrum of textures that keeps your palate engaged. You will experience the satisfying snap of bell peppers alongside the savory depth of artisanal meats, creating a wholesome eating experience. The overall aroma is clean, fresh, and appetizing, signaling a lunch that is far superior to heavily processed supermarket alternatives.
The bento-style approach originates from Japanese tradition, emphasizing portion control, aesthetic appeal, and the convenience of portable, cold-packed nutrition during a workday. While many pre-packaged meals rely on preservatives and excessive sodium to maintain shelf stability, this version favors whole-food ingredients that retain their natural vibrancy and nutritional value. By building your own tray, you elevate a simple midday snack into a thoughtful culinary statement that stands out from standard corporate cafeteria options. It represents a shift toward mindful consumption without sacrificing the comfort and familiarity of a snack-style lunch.
Choosing this lunch format is ideal for working professionals, busy parents managing school lunches, and anyone seeking a efficient, grab-and-go meal solution. It suits hectic schedules where you need a quick energy boost without the midday crash associated with heavy, fried, or overly processed food items. This recipe deserves a permanent place in your weekly routine because it simplifies preparation significantly while ensuring you stay satisfied until your evening meal arrives. You will find that taking five minutes to assemble your containers pays off significantly in terms of flavor and personal health satisfaction.
Why You’ll Love This Recipe
The star element of this dish is the ability to customize your protein roll-ups, which allows you to experiment with different flavor profiles every single day. Using high-quality deli meat and premium cheeses ensures a flavor payoff that feels indulgent even though the meal remains light and energizing for afternoon productivity. You will appreciate how the simplicity of these ingredients showcases their natural quality without needing complex cooking techniques or long wait times.
Texture contrast is the secret weapon of this meal, as the crispness of fresh bell peppers perfectly balances the smooth density of cubed dairy products. This visual appeal inside a segmented container prevents the ingredients from mingling prematurely, ensuring that each element maintains its integrity until you are ready to eat. Every component works in harmony to satisfy your hunger on multiple levels, providing both immediate crunch and sustained nutritional fuel for your body.
The Perfect Weeknight Dinner
Achieving a nutritious lunch through this DIY format requires minimal effort and guarantees that you are ready for the next day in under ten minutes total. The assembly process involves straightforward slicing and arranging, allowing you to focus on quality control rather than complex preparation steps or stove-top heat regulations. You can easily scale this recipe for multiple containers at once, making it a highly efficient solution for anyone managing a busy weekly calendar.
This recipe works perfectly for structured meal prep sessions because all components hold up well in the refrigerator for several days without losing their signature snap. Families find this format especially valuable for morning routines, as children enjoy selecting their own preferred vegetable sticks or fruit choices to accompany the main components. Beginner cooks will appreciate that this format leaves very little room for error, ensuring a perfectly delicious result every single time you pack your bag.
Ingredients Needed for DIY Lunchable Bento Box
Main Ingredients
Gathering these essential items creates a base that is both nutrient-dense and remarkably satisfying for an afternoon meal.
| Ingredient | Quantity | Notes |
|---|---|---|
| Deli Turkey | 2 oz. | Provides essential lean protein |
| Cheddar Cheese | 1 oz. | Adds savory fat and flavor |
| Crackers | 1 serving | Delivers necessary complex carbohydrates |
| Bell Pepper Strips | 3/4 cup | Contributes crunch and antioxidants |
| Ranch Dressing | 1 Tbsp. | Adds creaminess and moisture |
| Kiwi | 1 fruit | Offers sweet fruit and vitamin C |
Optional Add-Ins
Enhancing your container with varied textures and flavors keeps the experience fresh and prevents monotony during the work week.
| Ingredient | Quantity | Notes |
|---|---|---|
| Hummus | 2 Tbsp. | Adds creamy plant-based protein |
| Almonds | 1/4 cup | Provides healthy fats and minerals |
| Dry Apricots | 3 pieces | Adds natural sweetness and fiber |
| Cucumber Slices | 1/2 cup | Improves hydration and crisp texture |
Ingredient Substitutions
Adapting your ingredient list ensures the meal remains relevant to your current pantry inventory and specific dietary requirements.
- Replace deli turkey with roast chicken strips to change the flavor profile to a more roasted savory experience.
- Swap cheddar cheese for mozzarella cubes if you prefer a milder, creamier cheese profile that pairs well with fresh vegetables.
- Substitute traditional wheat crackers with rice crackers to make the meal gluten-free while maintaining that essential satisfying crunch.
- Use grape tomatoes instead of bell peppers if you are looking for a sweet, juicy addition that packs easily into small compartments.
Step-by-Step Cooking Instructions
The assembly of this bento box requires precision in cutting and strategic arrangement to maintain freshness throughout the day. By following these steps, you ensure that every bite is as crisp, savory, and enjoyable as the first one prepared.
Preparing the Protein and Dairy
Begin by laying out your slices of turkey meat flat on a clean cutting board to prepare for neat, bite-sized portions. Carefully roll each slice of deli turkey as tightly as possible to ensure that they maintain their structure when placed inside the box compartments. Use a sharp knife to slice these rolls into small, manageable pieces that can be eaten in one single bite without any mess. Finally, take your block of cheddar cheese and slice it into consistent uniform cubes, ensuring they are slightly larger than the meat pieces for a nice aesthetic contrast.
Vegetable and Fruit Prep
Select a vibrant, firm bell pepper and remove the stem and seeds completely before slicing it into long, thin, uniform strips. These strips should be sized to fit comfortably in your container while providing a nice crunch that pairs perfectly with the creamy ranch dressing provided. Peel your fresh kiwi and slice it into circular medallions, which ensures it is easy to consume while providing a bright, sweet contrast to the savory components. Keep these fresh items separate from the crackers to prevent any potential moisture transfer that might affect the desired texture of your meal.
Final Assembly
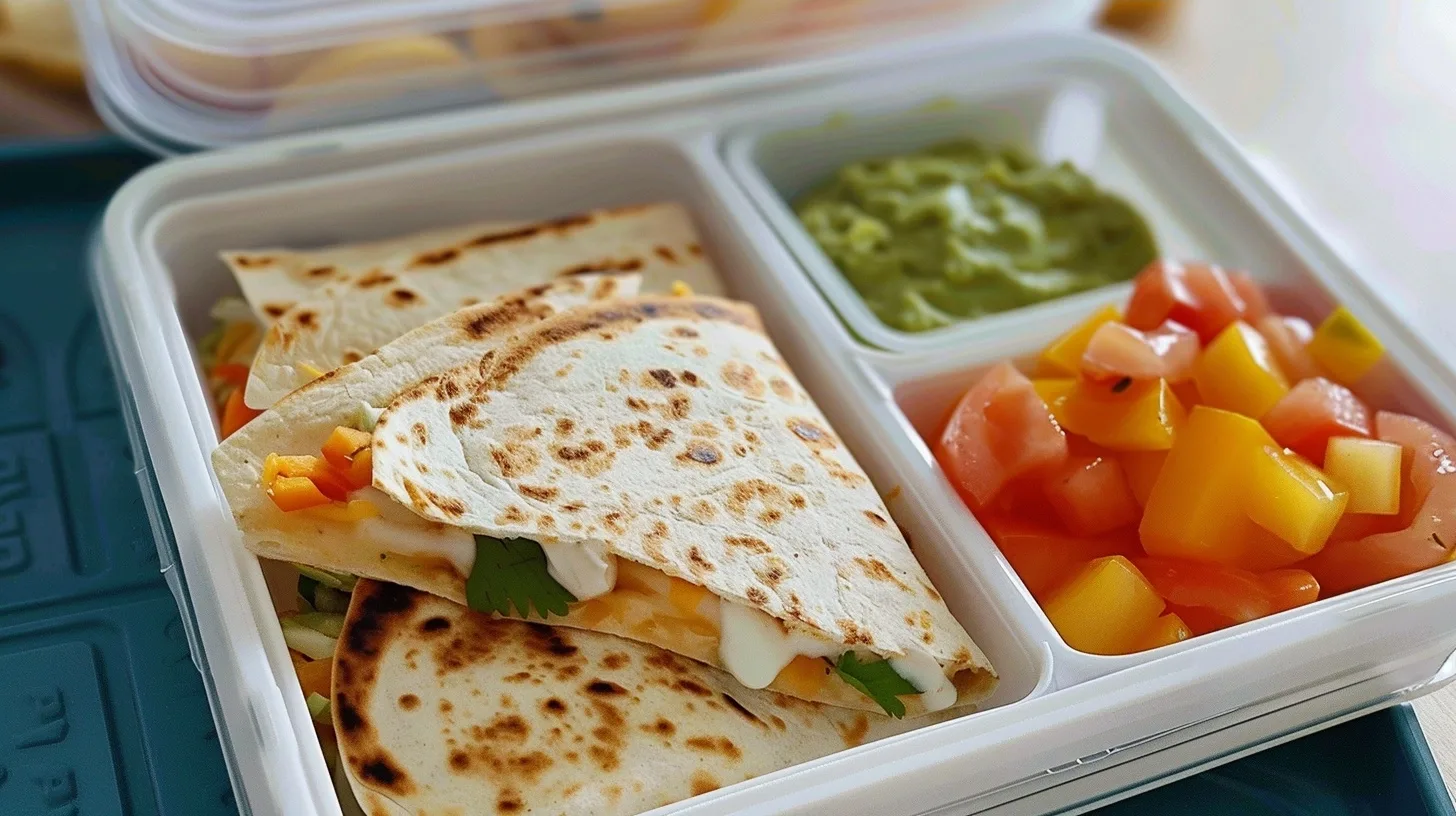
Arrange all your prepared ingredients into their designated compartments inside your clean bento box or portable food container. Place the protein and cheese in one section, ensuring they look organized and inviting for your upcoming mealtime break. Add the crisp vegetable strips and a small container of ranch dressing next to them, taking care to keep the dressing sealed to avoid leaks. Place the crackers and the kiwi in the final sections, making sure everything is tightly packed to prevent excessive movement during your commute to work or school.
Pro Tips
Optimizing your assembly routine ensures that your lunch stays fresh and delicious from the moment you pack it until you finally eat it. These professional insights help you maintain quality and excitement in every meal you create during the week.
- Always dry your washed vegetable strips with a paper towel before packing them to prevent unwanted moisture from making your items soggy. Excess water causes rapid spoilage of delicate produce, so this drying step is essential for maintaining the crisp texture throughout the day.
- Use individual silicone liners or small containers within your main box to keep acidic fruits like kiwi separate from crackers to preserve freshness. Maintaining this barrier ensures that your crackers stay perfectly crunchy and do not absorb the juice or moisture from the fruit pieces.
- Pack your dressing in an airtight container at the very bottom or side of the box to prevent any potential accidental spills or leaks. Secure containers provide peace of mind by protecting your other ingredients from unwanted moisture or flavor contamination during your transition to work.
- Keep your assembled boxes in the coldest part of your refrigerator until the very moment you are ready to depart for your day. Consistent refrigeration maintains the safety and texture of meat and dairy items, ensuring that the meal remains food-safe and appetizing until lunchtime.
- Label your containers with the date of assembly if you are prepping several days of lunches to track freshness cycles accurately. Following a rotation ensures you always consume the oldest meals first, reducing waste effectively while keeping your daily nutrition plan as fresh as possible.
The most important technique in this recipe is maintaining the physical separation of ingredients based on their specific hydration and moisture levels. By utilizing a segmented container or individual liners, you prevent the migration of liquids from the fruit or vegetables into the crackers or meat components. This attention to detail preserves the structural integrity and taste of each element, which is the foundational secret to a high-quality DIY lunch pack.
Serving Suggestions and Variations
Pairing with Sides
Complete your lunch experience by pairing this box with complementary items that add further nutritional depth and satisfaction to your work break. Consider adding a small side of Roasted Chickpeas to introduce a dense, crunchy protein element that balances the fresh produce beautifully. Including a thermos of Garden Vegetable Soup provides a warm contrast to the chilled bento components, satisfying cravings for hot food on cooler days. Finally, a crisp Apple Salad serves as a refreshing palate cleanser that ties all the savory and salty flavors together through its natural, clean sweetness.
Creative Variations
Introduce heat into your box by sprinkling a touch of red pepper flakes or adding thinly sliced jalapeños alongside the bell peppers. This approach adds a level of complexity that keeps the meal exciting and prevents you from feeling stuck in a flavor rut. You can easily adjust the intensity based on your personal heat tolerance by choosing mild or spicy variants of your favorite peppers.
Experiment with different protein sources like smoked turkey, roast beef, or even falafel balls to see how they change the overall profile of your lunch. Replacing the deli turkey with plant-based alternatives also allows you to tailor the meal to specific vegetarian nutritional needs without sacrificing the savory character of the dish. Every swap provides a unique opportunity to expand your culinary horizons while keeping your meal preparation consistent and highly effective.
For further inspiration, explore our related articles on Healthy Snack Packs and Quick Protein Meals to keep your weekly rotation interesting. Complete your satisfying lunch by pairing it with a simple Berry Yogurt Parfait for a light and natural dessert that leaves you feeling energized for the rest of your day. Each of these variations ensures that your lunch remains a highlight of your daily routine rather than a chore.
FAQ
How can I substitute the deli turkey for a vegetarian option?
You can effectively substitute the deli turkey with marinated tofu cubes or thick slices of hard-boiled egg for a satisfying vegetarian protein source. Both options pair perfectly with cheddar cheese and provide the necessary structural density that keeps the lunch feeling substantial for your midday meal. These plant-based or egg-based proteins absorb flavors well, allowing you to season them with smoked paprika or turmeric to mimic the savory profile of deli meat. This simple switch ensures you maintain high nutritional quality while adhering to your preferred diet without needing to change any other core recipe components.
How long can I store this DIY lunchable in the refrigerator?
This bento box will remain fresh and safe to eat for up to three days when stored correctly in an airtight, segmented container. It is essential to keep the box in the coldest part of your refrigerator to maintain the integrity of the deli meat and dairy items throughout the storage period. If you plan to prep for an entire work week, consider assembling the containers in two separate batches to ensure maximum freshness for the Thursday and Friday portions. The quality of the vegetables may decrease slightly after 48 hours, so consuming within this window provides the best experience.
Can I assemble these lunch boxes the night before?
Assembling these boxes the night before is the most efficient way to manage your busy morning routine while ensuring a nutritious lunch is always ready. You will find that the components remain perfectly crisp and flavorful, provided that you keep moisture-heavy fruits like kiwi separated from the crackers. This advanced strategy saves significant time during your morning preparation, allowing you to simply grab your pre-packed bento box from the refrigerator before you walk out the door. Consistent overnight storage also helps the flavors meld slightly, which can enhance the overall enjoyment of the meal when you sit down to eat.
What should I do if my crackers become soft in the container?
Soft or stale crackers are usually the result of accidental moisture transfer from the fresh vegetables, fruits, or even the ranch dressing dressing inside the bento box. To resolve this issue, ensure you are using a strictly leak-proof container for your ranch dressing and that all sliced vegetables have been thoroughly patted dry with paper towels. You can also wrap the crackers in a small piece of parchment paper or place them in a dedicated sealed pouch within the larger box to create an extra layer of protection. Following these structural adjustments will keep your crackers perfectly crunchy and satisfying regardless of how many other fresh, wet ingredients you choose to include in your meal.
Are there any specific containers recommended for this recipe?
Using a high-quality, segmented bento-style container with a locking lid is the superior choice for keeping ingredients fresh and your lunch bag mess-free. These containers are specifically designed to keep different food items physically isolated, which is critical for preventing flavor transfer and maintaining the distinct textures of your chosen ingredients. Look for BPA-free plastic or stainless steel models with removable dividers, as these offer the most flexibility for adjusting your portion sizes based on your daily appetite. Investing in a durable, reliable container will make your meal prep routine much easier to sustain over the long term, ultimately supporting your health goals effectively.
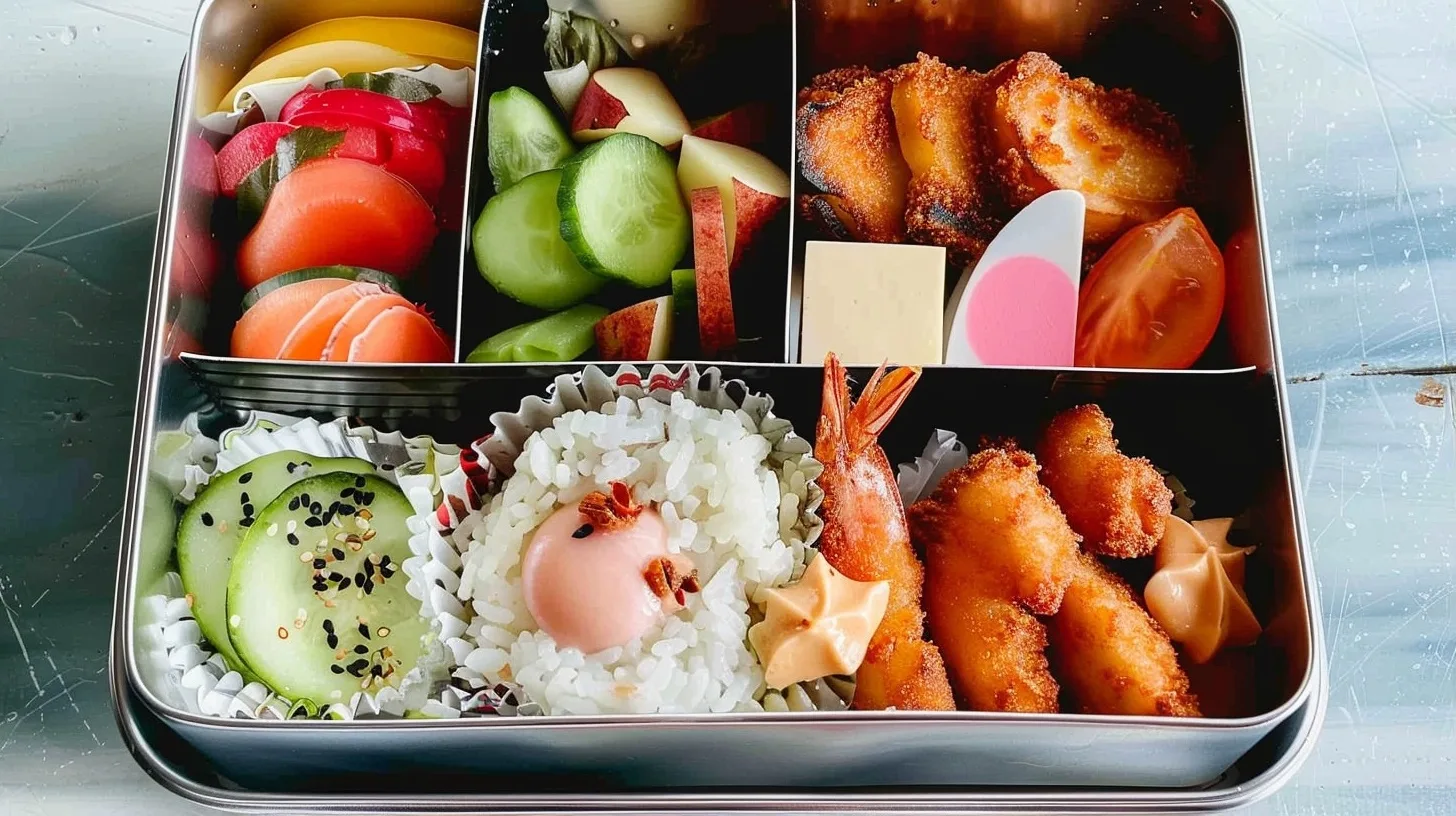
Healthy DIY Turkey and Cheddar Bento Box
Ingredients
Method
- Lay the deli turkey slices flat on a clean surface.
- Place a strip of sharp cheddar cheese at the end of each turkey slice.
- Roll the turkey tightly around the cheese to create protein roll-ups.
- Wash and prepare the bell peppers and carrots by slicing them into manageable sticks.
- Assemble your bento box by placing the turkey roll-ups in one compartment.
- Add the vegetable sticks and crackers into remaining compartments or sections.
- Include a small container or side portion of hummus for dipping.
- Seal the box and refrigerate until ready to enjoy.