A Microwave Chocolate Mug Cookie provides a warm, decadent dessert experience by cooking a single serving of dough in under two minutes. This quick treat requires minimal ingredients and delivers a rich, gooey center that satisfies sudden cravings without the need for an entire batch of oven-baked cookies.
Introduction to Microwave Chocolate Mug Cookie
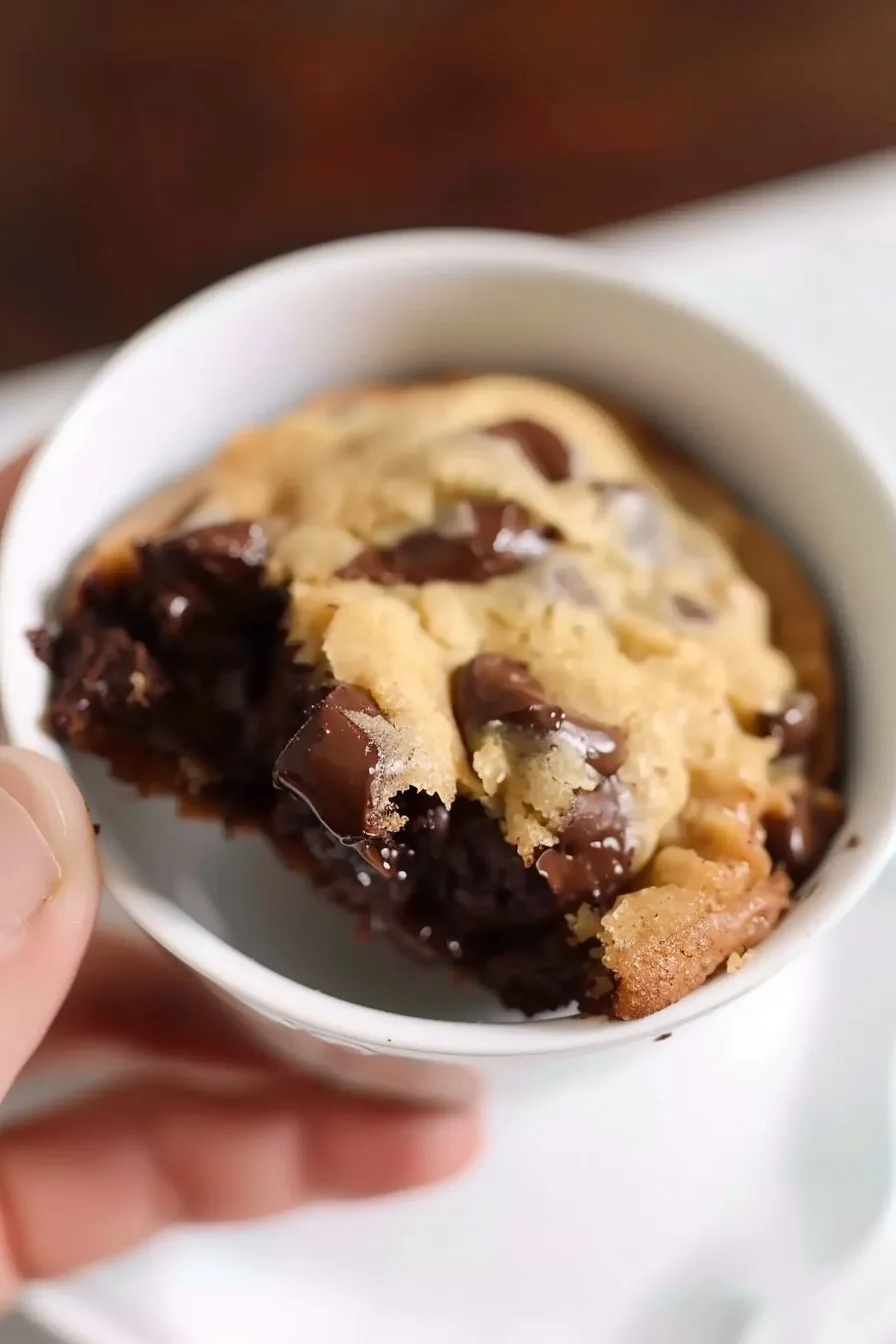
The beauty of this dessert lies in its remarkable texture that bridges the gap between a brownie and a classic chewy cookie. Each bite provides a deep, buttery flavor highlighted by the richness of premium chocolate chips and the aromatic warmth of pure vanilla extract. The soft yet structured crumb offers a comforting sensation that makes it the ultimate solo indulgence during long evenings or stressful afternoons. You will enjoy how the golden exterior perfectly contrasts with the molten center that oozes flavor upon every single spoonful.
Culinary history has evolved to embrace the convenience of single-serving portions, and this specific cookie recipe stands out for its high success rate in various home kitchens. While many mug cakes result in a rubbery texture, this cookie focuses on precise moisture content through the use of an egg yolk, which ensures a decadent, tender finish. Most microwave desserts lack the depth of a traditional oven-baked version, but this method mimics that classic treat by carefully balancing sugars and fats. Professionals recognize that simple techniques often produce the most reliable results, and this dish is a testament to that philosophy.
This recipe is intended for anyone who values time-saving meals but refuses to compromise on the quality of their evening dessert experience. It fits perfectly into the busy schedules of college students, working parents, or those who simply enjoy a quiet treat after a long day of responsibilities. Adding this to your weekly rotation guarantees that you always have a reliable, warm solution for those late-night sugar cravings that strike right after finishing the dishes. You deserve a reward that requires almost no cleanup and can be enjoyed while catching up on your favorite television show.
Why You’ll Love This Recipe
The primary reason you will appreciate this dish is the specific use of an egg yolk, which acts as an essential binding agent for the structure. This technique eliminates the dryness often associated with microwave baking, resulting in a dense, rich texture that clings to the spoon. You gain all the satisfaction of a chocolate chip cookie without the lingering smell of an oven or the temptation of having dozens of leftovers.
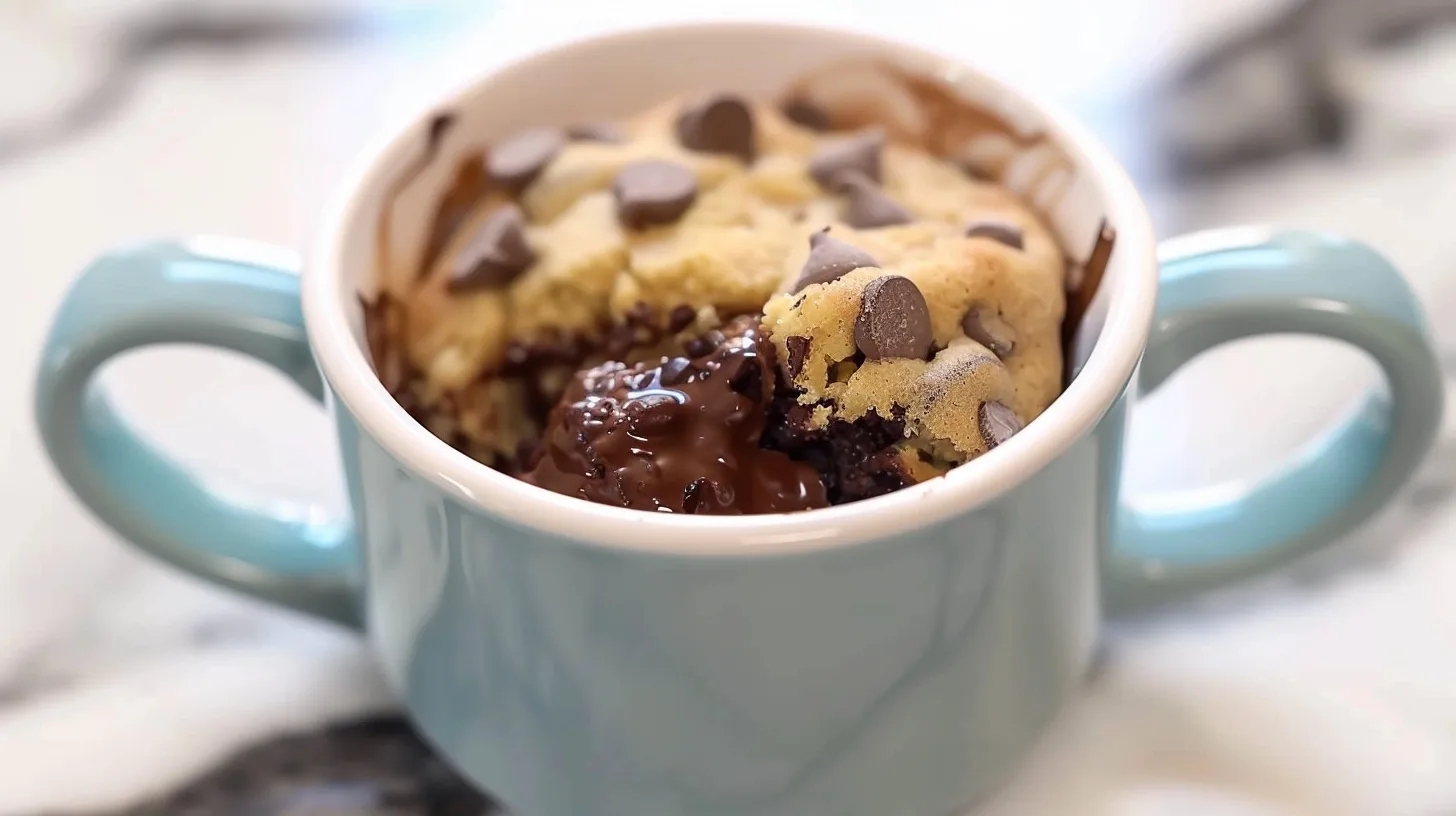
The visual appeal of the melted chocolate pools against the golden, slightly crisp edges creates a professional dessert presentation right inside your favorite ceramic mug. Each bite provides a delightful contrast of temperatures and textures that keeps your palate engaged from the first taste until you reach the bottom. You will love how the combination of granulated and brown sugars provides both caramel undertones and a pleasant, snap-like finish to every warm bite.
The Perfect Weeknight Dinner
Achieving a high-quality dessert during a busy weeknight is remarkably simple when you focus on this rapid baking technique that takes less than five minutes from start to finish. You only need a few pantry staples to pull this together, making it the perfect solution for those moments when you run out of treats. The process is streamlined to ensure you spend more time relaxing on the couch and less time standing over a hot stove or waiting for a preheating oven.
Busy families will appreciate that this recipe scales perfectly for individual requirements, allowing each person to customize their own portion with different toppings or extra chocolate chips. Beginners will find this approach incredibly rewarding because it requires minimal technical skill while offering immediate, delicious feedback. Whether you are prepping for a late shift or simply want a fast snack before bed, this mug cookie remains a reliable, consistent, and highly impressive culinary project.
Ingredients Needed for Microwave Chocolate Mug Cookie
Gather the following high-quality ingredients to ensure your mug cookie reaches its maximum potential for flavor and texture during the quick cooking cycle.
Main Ingredients
Ensure all your ingredients are at room temperature for the best integration before microwave processing.
| Ingredient | Quantity | Notes |
|---|---|---|
| Melted butter | 1 tbsp | Provides intense richness |
| Granulated sugar | 1 tbsp | Adds classic sweetness |
| Brown sugar | 1 tbsp | Depth and moisture |
| Vanilla extract | 0.125 tsp | Aromatic enhancement |
| Salt | 1 pinch | Balances flavor profile |
| Egg yolk | 1 large | Tender base structure |
| All-purpose flour | 0.25 cup | Forms the dough |
| Chocolate chips | 2 tbsp | Melting flavor burst |
Optional Add-Ins
Customization allows you to tailor the specific flavor profile of your mug cookie to match your personal cravings or what happens to be in your pantry.
| Ingredient | Quantity | Notes |
|---|---|---|
| Walnuts | 1 tsp | Adds earthy crunch |
| Sea salt | 1 pinch | Enhances chocolate depth |
| Espresso powder | 0.25 tsp | Deepens cocoa notes |
| Cinnamon | 1 dash | Warm spice aroma |
Ingredient Substitutions
- Coconut oil can replace melted butter to provide a subtle tropical aroma and maintain the same liquid fat ratio.
- Gluten-free flour blends work as a direct 1:1 replacement, though you might need to add a splash of milk for moisture.
- Dark chocolate chunks instead of chips offer a much more sophisticated, less sugary flavor profile for those who prefer intensity.
- Maple syrup can substitute for brown sugar, though you should slightly reduce the flour to balance the moisture content.
Step-by-Step Cooking Instructions
Executing this recipe requires careful attention to the mixing process and the specific power settings of your microwave to ensure a uniform cook. Follow these steps sequentially to guarantee that every mug cookie turns out perfectly tender and never dry or rubbery.
Preparing the Base
Select your favorite six- or eight-ounce mug and apply a very light coating of oil or butter to the inside walls to prevent sticking. Add the melted butter, egg yolk, both sugars, vanilla extract, and salt into the mug, whisking them vigorously with a small fork. Ensure the mixture transitions from clumpy to a smooth, uniform liquid consistency before proceeding to the dry ingredients. Taking this time to dissolve the sugars properly creates a better overall crumb structure for the finished cookie.
Incorporating Dry Elements
Gently fold the flour into your wet mixture, taking extreme care not to overmix, which can lead to a tough end product. Stir in the chocolate chips once the flour is nearly incorporated to avoid distributing them unevenly throughout the mug. If you notice the result looks like dry crumbs rather than a thick batter, add a single teaspoon of milk to resolve the texture. The consistency should be thick and glossy, clinging to your mixing fork with a heavy, satisfying weight.
Microwave Cooking
Place your mug in the microwave, using the specific power settings based on your machine wattage to avoid burning the edges. For a 1,000-watt machine, use eighty percent power for exactly one minute, while 1,200 or 1,500-watt models require forty-five seconds at seventy-five percent power. Watch the top closely through the glass door, looking for the batter to puff up and spring back when touched. Remove the mug immediately once the top appears set, as the cookie will continue to cook slightly from the residual heat.
Pro Tips
Mastering this technique relies on understanding how your specific microwave interacts with the sugar and fat content of the dough. Small adjustments to time or power will result in a significant improvement in your final dessert outcome.
- Use a wide-mouth mug to ensure the heat distributes evenly across the entire surface area of the cookie dough. This prevents the edges from overcooking before the center sets properly.
- Always measure your flour by spooning it into the measuring cup rather than scooping it directly from the bag. Scooping packs the flour down, often leading to a dense and dry cookie structure.
- If your microwave has a rotating plate, ensure the mug is placed toward the outer edge rather than the center. This area receives more consistent microwave energy, which helps in achieving an even, beautiful rise.
- Let the cookie rest for approximately sixty seconds before taking your first big bite to allow the structure to stabilize. Rushing into the hot center can result in a texture that feels too much like raw batter.
- Keep a small amount of extra chocolate chips to press onto the top immediately after taking the mug out of the microwave. This creates a beautifully aesthetic puddle of melted chocolate for an impressive presentation.
The most important technique in this recipe is resisting the urge to overcook the dough because microwave energy works rapidly on the sugars. If you peek at the mug and see the top is matte and slightly springy, you have reached the perfect stage of doneness. Overcooking causes the proteins to seize up, which turns a potential masterpiece into a dry, flavorless brick that lacks the intended fudgy quality.
Serving Suggestions and Variations
Pairing with Sides
Pairing your warm cookie with cold elements creates a perfect contrast that elevates the entire dining experience to something special. Consider serving this with a generous scoop of Classic Vanilla Bean Ice Cream to let the melting cream sauce the warm chocolate chips. You might also enjoy a side of Fresh Whipped Cream if you prefer a lighter, airy finish to balance the density of thecookie. A small cup of Homemade Salted Caramel Sauce drizzled over the top adds a layer of depth that pairs beautifully with the brown sugar notes inside the dough.
Creative Variations
To infuse heat into this dessert, stir in a quarter teaspoon of ground cayenne pepper or chili powder along with the flour. This combination creates a sophisticated, spicy chocolate experience that lingers pleasantly on the palate and surprises your guests. Increase the volume of chocolate by adding cocoa nibs for a crunchy, bitter contrast that balances the sweetness of the granulated sugar.
For a complete protein boost, substitute the flour with almond flour, which provides a nutty base that changes the texture significantly. You could also replace the chocolate chips with peanut butter chips to create a classic flavor profile known for being universally loved. Experimenting with these base changes allows you to develop a signature version of the mug cookie that suits your specific dietary preferences.
For more quick dessert inspiration, explore our Easy Brownie Bits or consider our recipe for Simple Almond Bark which goes great with any meal. If you prefer a larger scale treat, our Classic Chocolate Chip Blondies are a must-try for your next gathering. Always finish your meal with a warm serving of our Signature Hot Cocoa Blend to round out the experience.
FAQ
Can I use coconut oil instead of butter in this recipe?
You can definitely use coconut oil as a direct substitute for melted butter without needing any other adjustments to the recipe. The oil provides the necessary fat for the cookie structure and introduces a very faint, pleasant coconut undertone that complements the chocolate perfectly. Ensure the oil is completely melted and slightly cooled before you combine it with the egg yolk. This swap is ideal if you are looking for a dairy-free variation while still maintaining the expected richness.
Is there a way to make this recipe vegetarian?
This recipe is inherently vegetarian friendly since it does not contain any gelatin or animal-derived products other than the egg and butter. If you prefer to make a vegan version, you can substitute the egg yolk with a flax egg or a tablespoon of unsweetened applesauce. These substitutes will bind the ingredients together, though the final texture might be slightly softer than the traditional version containing an egg yolk. Most eaters find that the flavor remains delicious and consistent regardless of which binding agent you eventually choose.
How long can I store a microwave cookie after baking?
Microwave mug cookies reach their peak quality when consumed immediately after preparation, as the texture starts to lose its softness as it cools down too much. If you absolutely cannot finish it, wrap the mug tightly with plastic wrap and store it in the refrigerator for up to one day. You must reheat the cookie on medium power for fifteen seconds to restore that soft, molten center quality before you enjoy it again. Avoid leaving it at room temperature for extended periods, as the moisture shifts and makes the crumb feel stale quite quickly.
Can I prep the dry ingredients ahead of time for a quick snack?
You can absolutely pre-mix all the dry ingredients and store them in small containers or bags for a rapid assembly later in the week. This makes the cooking process as simple as adding the wet ingredients directly into your mug along with the pre-measured dry mixture. Storing these portions keeps your pantry organized and ensures you stay focused on the task without hunting for measuring spoons when you are hungry. Having these ready-to-go packets will significantly decrease your prep time to under ten seconds when you finally decide to bake.
What should I do if the cookie is still raw in the middle?
If your cookie remains raw in the center after the recommended cooking time, try adding an additional ten seconds at a reduced power level like fifty percent. Microwaves vary greatly in their heating efficiency, so those extra short intervals are safer than running it for a full minute again. If the raw center persists, the mug might be too narrow or the portions might have been too large for the specific wattage of your machine. Keep a close eye on the texture during these extra seconds to ensure you do not overshoot the mark and end up with a dry cookie.
Microwave Chocolate Mug Cookie
Ingredients
Method
- In a microwave-safe mug, combine the melted butter, granulated sugar, brown sugar, salt, and vanilla extract.
- Stir in the egg yolk until the mixture is smooth.
- Add the all-purpose flour and stir until a thick dough forms.
- Fold in the chocolate chips.
- Microwave on high power for approximately 60 to 90 seconds, depending on your microwave wattage.
- Allow the mug cookie to cool for one minute before eating to let the center set and the chocolate pools thicken.